Setting up your Crypto Development Environment
In this article we cover the steps required in order to set up one's development enviroment as a part of a series on how to develop smart contracts and web3 applications for the Ethereum Blockchain and other EVM-Compatible chains.
A crypto developer will need to have some tools installed on their computer in order to develop Solidity smart contracts for Ethereum and other EVM-Based blockchains.
In this section we will begin Setting up your development environment for solidity and web3 development. This will include the basic tools and components needed for development.

Designing Solutions Architecture for Enterprise Integration: A Comprehensive Guide
Stop fighting data silos. Build enterprise integration that scales. Real-world patterns, checklists, and case studies. For IT professionals.
Learn More- Visual Studio Code
- VS Code Solidity Extension
- Remix IDE
- Node.js
- SOLC-JS Compiler
- Ganache
- Truffle
Some of these tools you may already have installed. If so, please feel free to skip over those or use your own tools if you feel comfortable with it. We will only be covering the tools used in the course here. In later sections, there will be application-specific requirements that may apply to that specific portion of the project that are not listed here.
Let's get started!
IDEs
In this course we will be using two IDE's, or Integrated Development Environments to create our applications. The IDE is where the source code is managed. The primary IDE we will be using is Visual Studio Code, an open-source text editor for software development that is used by millions of developers. In some cases, we will also use Remix, which is an open-source IDE that is specifically used for Ethereum development. Both are great choices for a developer who is getting started in Ethereum Smart Contract and Web3 development.
Installing Visual Studio Code
Visual Studio Code is a free, open-source code editor that works on Windows, Linux and Mac.
In order to install Visual Studio Code on your computer, please go to the VS Code website.
From there follow the installation instructions to ensure that it is working on your machine.
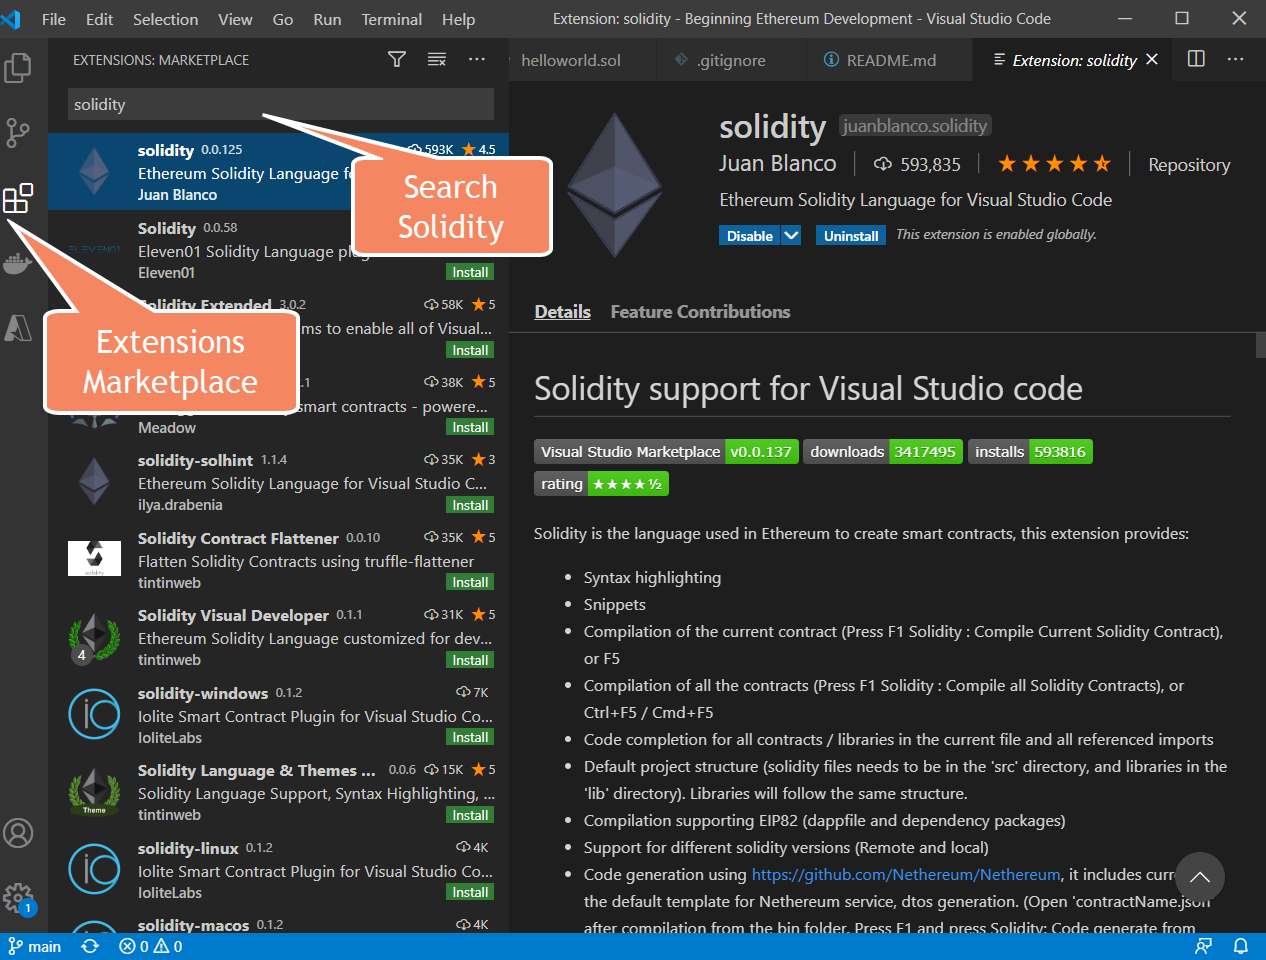
It can also be helpful to install the solidity extension, which will provide many helpful tooltips and highlighting functions for your Visual Studio Code IDE The one created by Juan Fran Blanco is the top extension in the VS Code Extensions Marketplace. Instructions for Solidity Extension
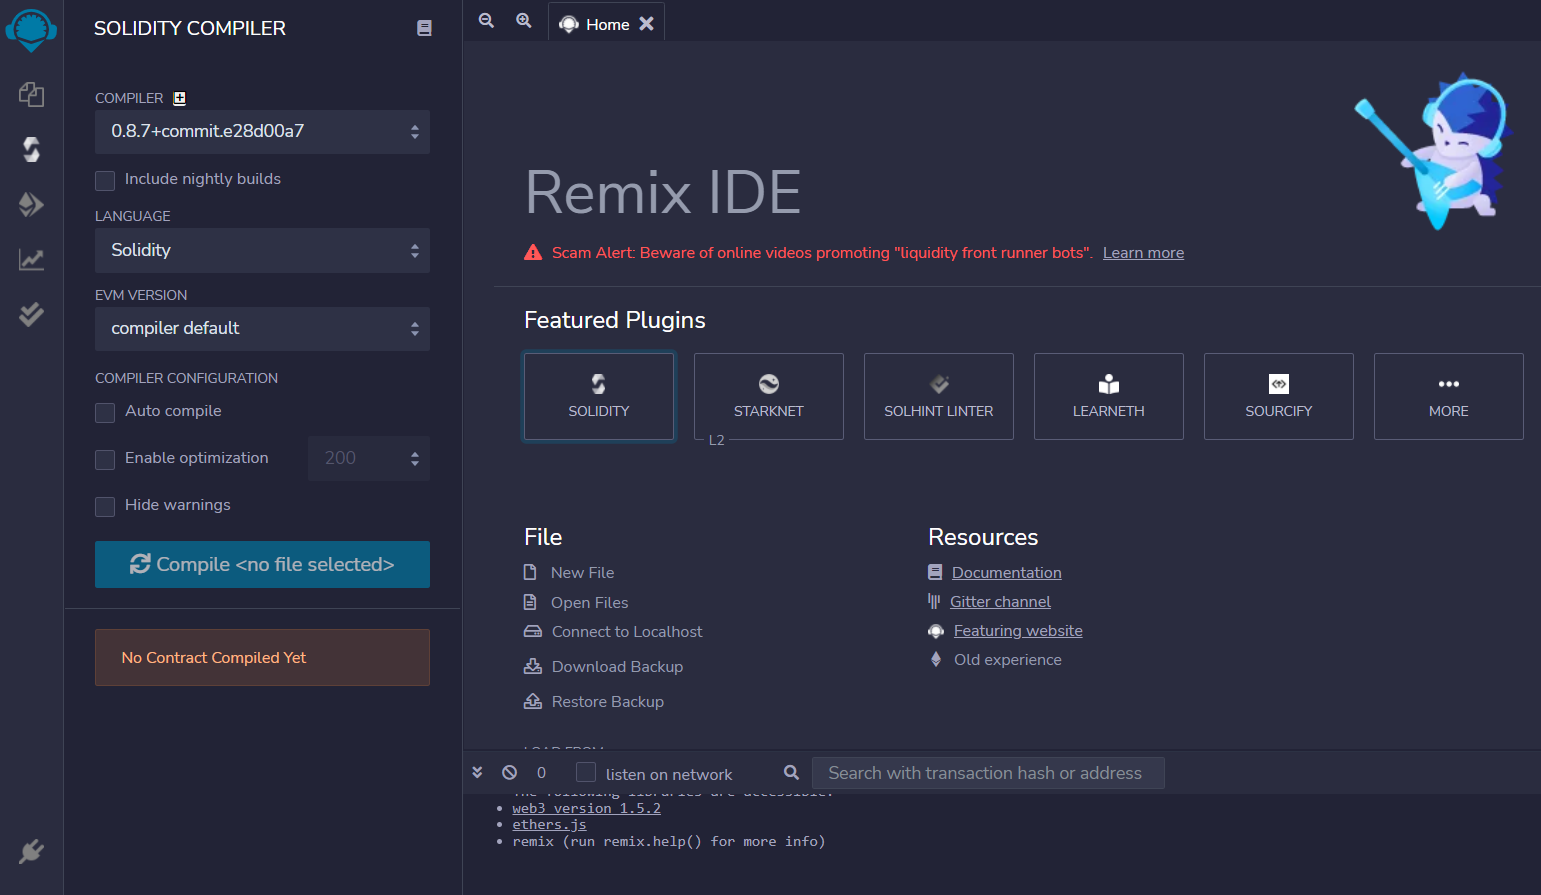
Remix IDE Getting Started
In order to use Remix, there is no installation required. Remix is a browser-based IDE that includes tools to assist with the entire software development lifecycle for Etherereum. In addition being a code editor space, Remix also includes onboard compilers, deployment and transaction tools, as well as tools for unit testing and static analysis.
We will cover Remix in depth in a later section of this book. Many people start out at the beginning completely using Remix. It was developed with Ethereum in mind.
Installing Node.js
In this course, we will be developing several software applications that use Node.js. First, we will use the node.js based Solidity Compiler, SOLC. We will also create a front-end application using JavaScript and HTML that will consume an API that is developed using Node.js.
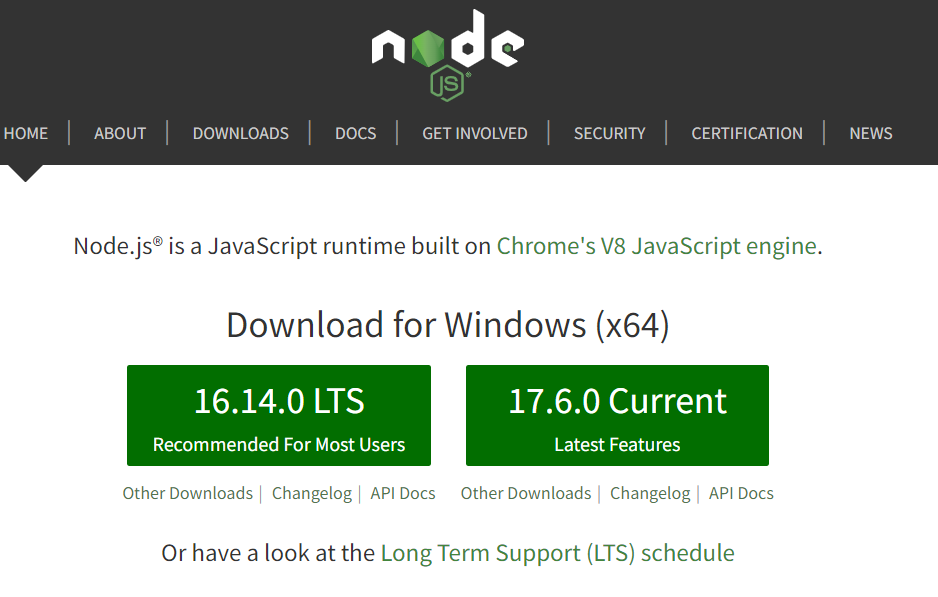
To install node.js please navigate to the Node.js website and follow the installation instructions for your operating system. Node.js Website
It is important to ensure that NPM is also installed with your Node.js applicaton. We will use NPM to install the SOLC JS Compiler and a local blockchain development environment called Truffle.
Installing the Solidity Compiler SOLC
SOLC-JS is an implementation of the JavScript bindings for the Solidity compiler. The github for the project can be found at the following location. Solc-JS
To install SOLC, type the following from the command-line
npm install -g solc
To test that the compiler was installed, type the following command from the CLI
solcjs -V
If it installed correctly, you should see some output of the current version of the Solidity compiler. This will be useful in constructing your pragma statement in the next section of this guide.
Ganache
Ganache is a localhost blockchain that can be installed on your personal computer that can be used for running local development tests, execute commands against, and perform transactions with. It provides the developer with a consistent environment where smart contracts can be deployed and tested for free and without fear of impacting anything on the Ethereum main net or test nets.
To install Ganache go to the following website. Ganache Website. Once it's installed you can run it to start up your own personal local blockchain on your computer.

Installing Truffle
Finally, we will need to install Truffle. Truffle is a Solidity lifecycle management tool that allows the developer to compile, test and deploy smart contracts to a blockchain, such as the one that we will run inside of Ganache.
To install truffle from the command line, type the following command
npm install -g truffle
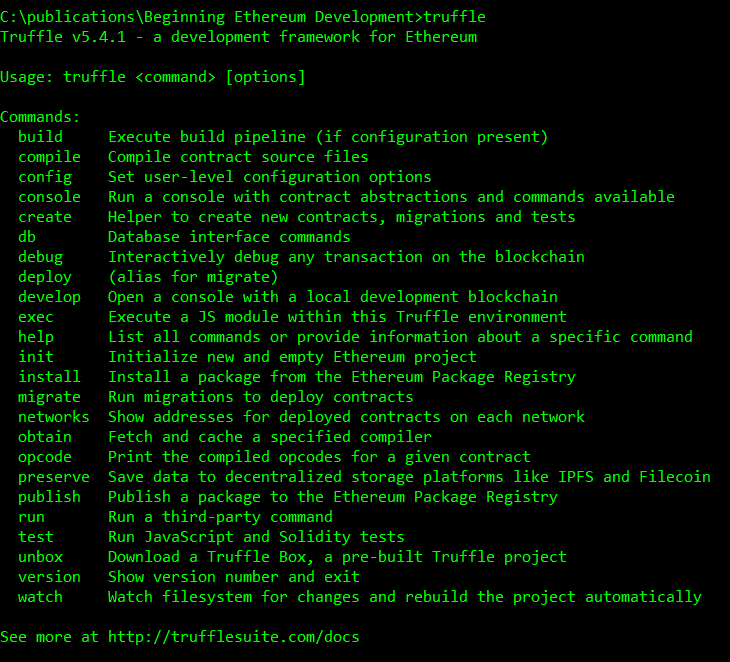
Once installed, if you type "truffle" on the CLI you should see a list of the available commands. In a later section of the course we will explore further into the use of truffle when we create an ERC-20 Token Smart Contract.
Summary
Here we are! At this point we have installed the basic software tools needed to develop Solidity smart contracts for Ethereum development.
In this section, we have walked through setting up the following tools for your crypto development environment.
- Visual Studio Code
- VS Code Solidity Extension
- Remix IDE
- Node.js
- SOLC-JS Compiler
- Ganache
- Truffle
Your Crypto Development environment is now ready, allowing you to get started on your journey to becoming a successful crypto developer.
In the next article section we will create our first Solidity smart contract.